A TALE OF TWO STARTERS
Prepping your Starter:
As I said in the Sourdough Starter (Part 1 of 3), you need to feed your starter. On the right is my 100% whole wheat flour starter and the left is white flour starter. You add 1 cup of flour and 2/3 cup of of water. Notice the different units for measuring I'm using. For those of you that don't know the difference, the ones with the flour are the type you always use for dry ingredients and the glass cup in the middle is the one you always use for wet ingredients. It DOES make a difference.
I'm going to show you, in pictures, the rest of the process for getting your starter to become "active".
These are the two starters once I have added the water and flour. I mark the sides of the container with tape as it helps me to know when they have approximately doubled in size. I like to use a rubber spatula to clean off the sides of the container on the inside so that I can watch the rising process.
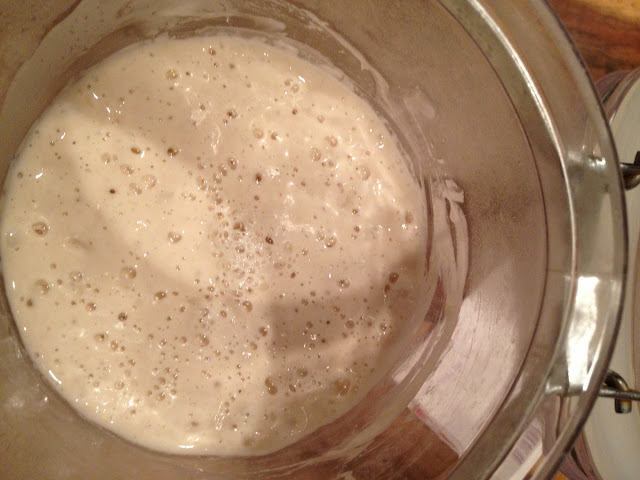
White flour starter after the feeding.
100% whole wheat starter after the feeding.
White flour starter after it becomes active. Note that it looks like pancakes right before you need to flip them.
100% whole wheat starter after it becomes active. The whole wheat takes a little longer than the white.
This is where the two starters are after about 4 hours.
It helps to maintain a warm temperature of about 78-88 degrees Fahrenheit It's been really cold here since it's winter, so to cheat the climate I turn on the oven for about 2 minutes and let the starters rise in there. You should have a removable oven thermometer in order to make sure you're not letting the oven get too warm. Ovens don't go low enough, but ideally it should be a temperature that's warm but that you would be comfortable in, if that makes sense. If it's too hot it will kill the starter.
Click on the active starters and notice what they look like from the side. They are pretty spongy at this point. I'm putting them in the refrigerator to stunt the activity and will remove them, wait a couple of hours, and bake with them tomorrow.
I could go into the many different ways to get a starter started, but if anyone is interested, I am drying out some white flour starter and will sell it here for $20 each batch and that includes shipping in the Continental United States. It will include what would be a half cup of starter that is dehydrated and I will include the instructions on how to re-hydrate it and re-activate it for baking. I will also include directions on how to convert it to 100% Whole Wheat. Just let me know if you're interested and I will send a PayPal link for the order.
It's a lot of fun and the starter becomes like a pet, though not as needy. I have given starter to a lot of friends and relatives and most of them think that they killed it. It's pretty hard to kill and it can get nasty looking if you don't tend to it, but it's really hearty and I'm sure I could have gotten each one to live again.


No comments:
Post a Comment